


-47inch LG 47LW540U Cinema 3D TV
-Playstation 3 (Slim) 250gig
-Xbox 360 Elite 120gig
-Nintendo Wii
-Sky+ HD Box
The original set up was a 3-tier glass AV unit, that would hang underneath the TV, however, the parts didn't actually fit flush against the wall, and after myself, a friend, and a qualified maintenance worker tried our luck, it wasn't going to work.
So, I put up a white 3-box unit, which I hated from the word go (so much so, I never got a real picture of it). But I knew one thing -- it wasn't staying up.
So, to change the whole thing again, i opted for two black shelves, and although it looked neater than the box-unit, I still hated it.


 |
| My friend Tez modeling 3D glasses (white box unit in background) It was slowly getting me a little down if I'm honest, and even though my fiancée was perfectly happy with it (more so because she was getting very annoyed with me), I managed to convince her I could make it all better (for me at least). My orginal plan had a much higher budget, but with Christmas looming, I had to make cuts, and you know what? I had a good feeling I could get what I wanted, for a fraction of the price. |
So, began 'Project Floating Wall'...
I began by planning the wall, and my local B&Q had all the stuff I needed:
-MDF Board (L)2440 x (W)1220 x (T)6mm - £10.28 x 2
-Batten - 98p x 8
-80 Multi Function Blue LED Lights With Clear Cable - £8.00
-B&Q Value Matt White 10L - £9.98
I also picked up a roller set, brush set and black paint (which never got used - see below).
Keeping the budget down, I decided to make a new unit, using the black shelves I'd brought, the glass shelves from the 3-tier unit and some wood. It started of pretty well, really, but in the end, it wasn't going to work out as I'd planned. The glass wasn't very secure, and I was getting pretty p***ed off in all fairness, so it was scrapped, black paint was put in the shed. And that was that.


After measuring the desired wall to, erm, hold the wall, I got it cut (at B&Q) and set off home.
 |
| Black & Decker Drill; I had this from my Grandad, it's nearly older than me, but it's freaking awesome |
 |
We start by cutting the battens |
 |
| Empty space (the picture on the right isn't un-even, there's a door to the right of it) |
 |
| We align the battens to start a frame for the wall |
 |
| There's actually two more battens in the middle at the bottom, but I forgot to take a picture... |
 |
| On go the first set of LED lights, I wanted to use LED Rope lights, but, budget. These will be replaced though. |
 |
| Baked Bean tins...? |
 |
| ..oooh it makes sense now!! |
 |
| Carefully cutting a hole (in both pieces) for the TV bracket. I had to do this twice as I was a little short, always go over your measurement! |
 |
| TV taking a break... |
 |
| Left panel on with the lights |
 |
| Both Panels on, not sanded. |
 |
| Both panels with lights |


 |
| The obligatory hand injury. I was working with drills and jigsaws, yet I did this with a screwdriver... |


 |
| Both panels sanded down. Now complete with wire port cut out. |
 |
| Let the painting begin! |
 |
| Ignore the lights at the top, they came loose, *sigh* |
 |
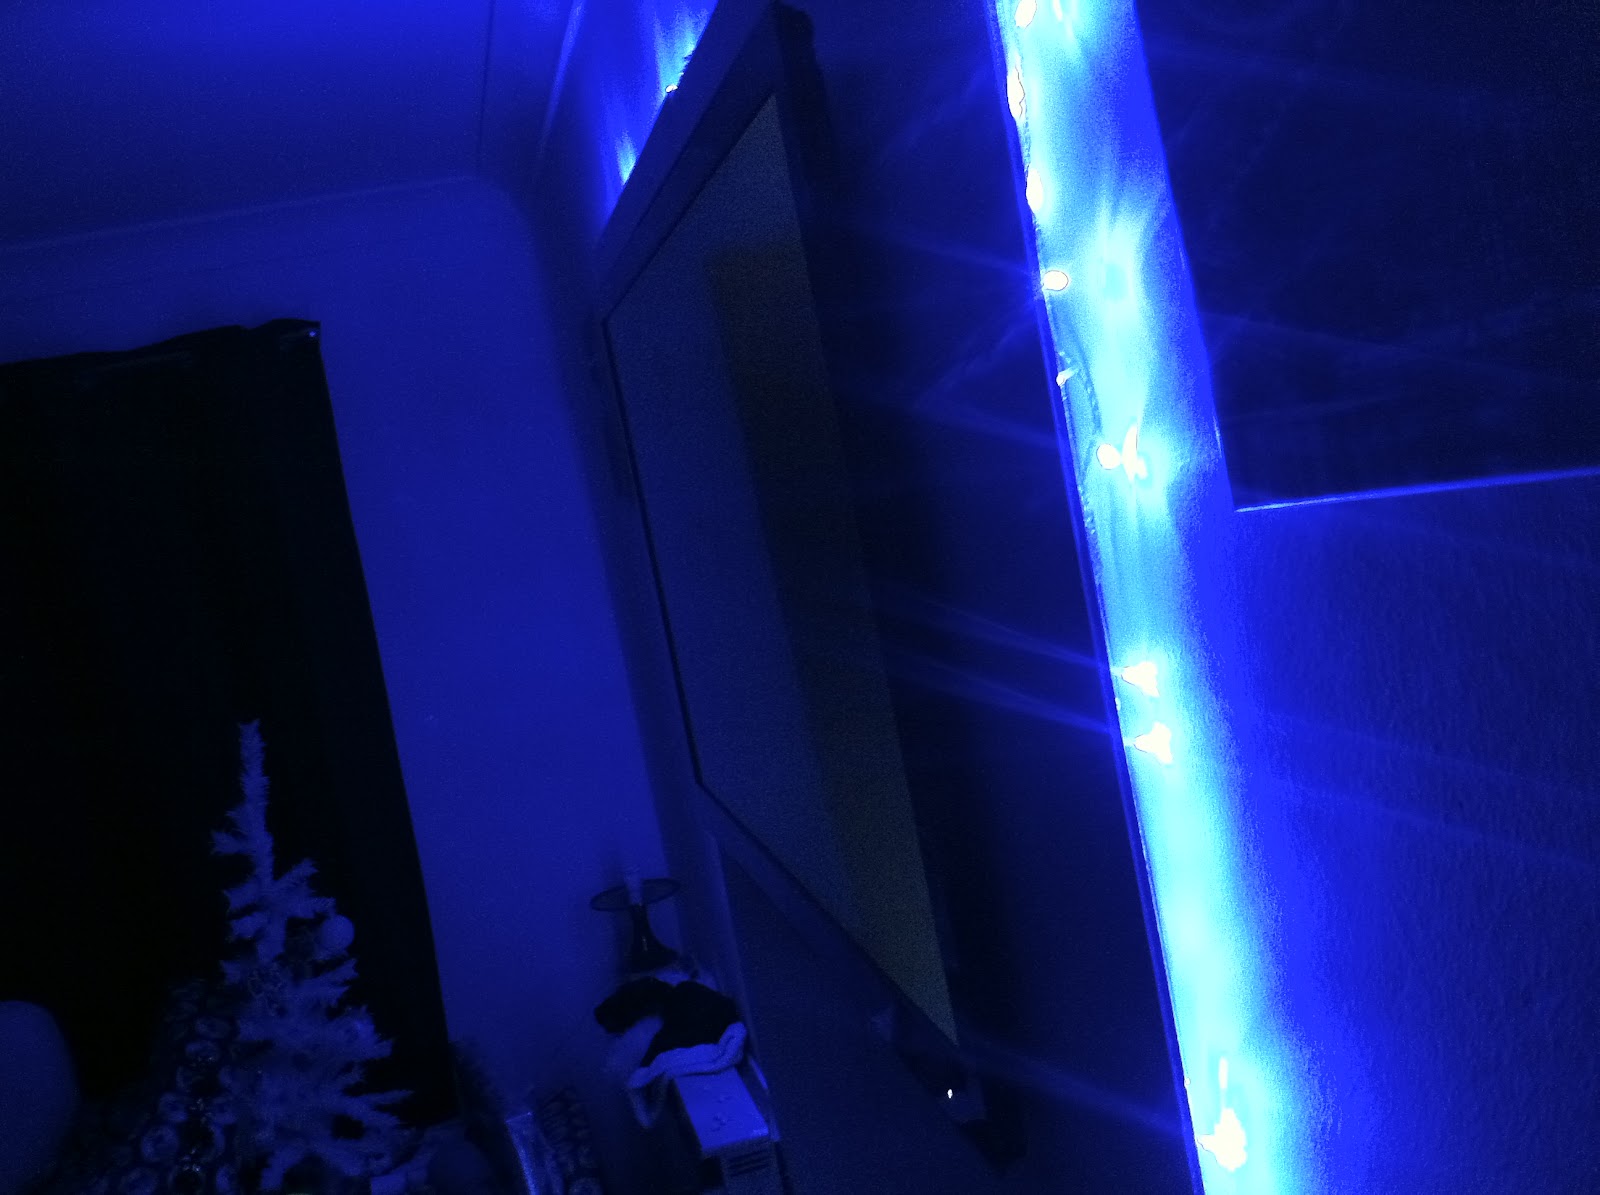
| Newly painted, lights on at night |
 |
| Lights on in day (well, with the light on) |


 |
| Almost finished, using an old glass stand (our pet rats lived on here), I didn't want to use it, but as my DIY unit didn't pan out, needs must |

 |
| I used some spare lights around the unit |

 |
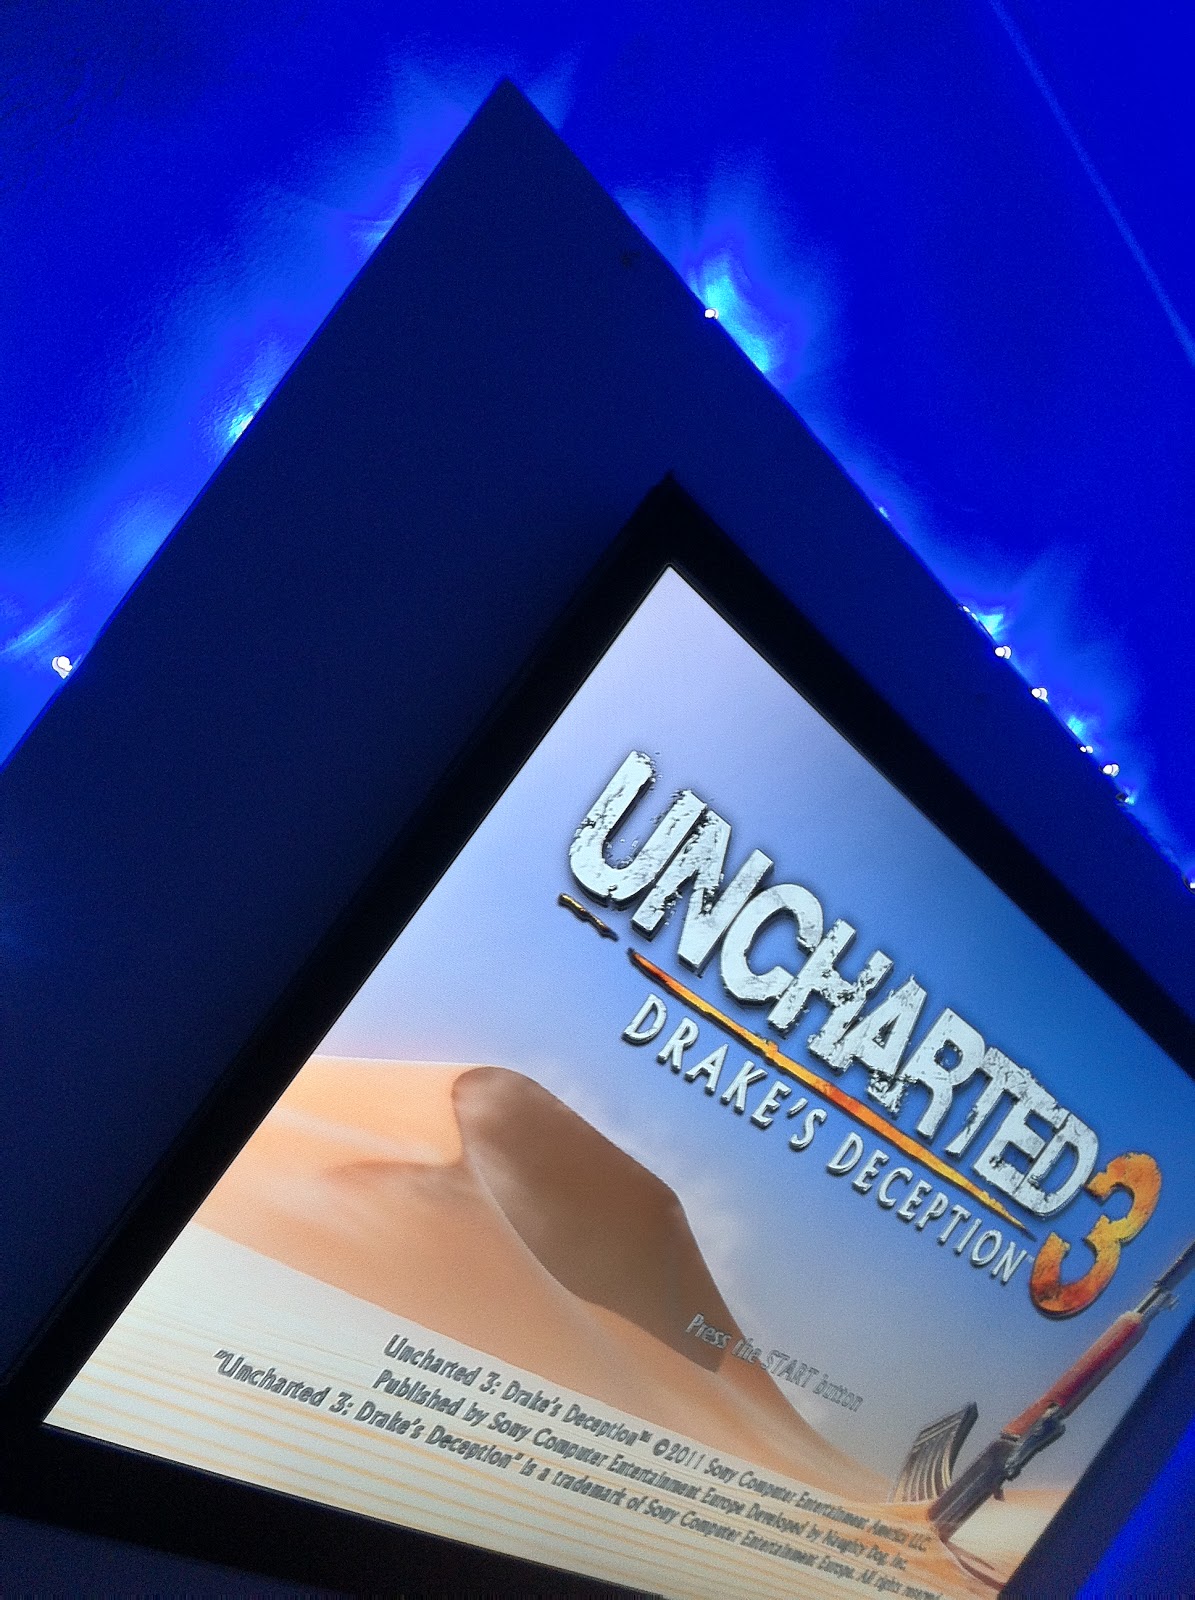
| Daytime with lights |


 |
| Daytime without lights |
 |
| Jasper was thrilled with the new look... |
So that is basically it, I've hidden the join between the two panels, which I'll update this article with photos once I've uploaded them, but there you go, a full, low budget Floating AV Wall for £54.22.
Now, to find some LED rope lights and a new unit...


No comments:
Post a Comment